How to Clean Your Grill (Right in Time for Labor Day Weekend)

It’s Labor Day weekend, which means it’s prime time for all things barbecuing. But first, you might want to give your grill a good cleaning. Not only does a dirty grill attract bacteria that could contaminate your food and make you sick; it also makes a big difference in how the food tastes when you pull it off the grates — a little char is one thing, but nobody wants a burnt taste on their flank steak or burger.
A dirty grill is also a dangerous grill, since built-up grease and crusty food bits can lead to an unwanted blaze in your backyard. And then there’s the health of your grill to consider: That same gunky buildup will dramatically shorten the life of your Weber or Char-Broil and diminish its performance day to day. Gas grills rely on clean burners that allow propane to flow freely, and if the hull of a gas or charcoal grill isn’t regularly emptied or cleaned, it’ll rust and break much faster.
If you’re wondering how to really clean and maintain your grill properly so it lasts longer and doesn’t cause any trouble this weekend and beyond, I’ve outlined some easy steps below. For this article, I used a propane-fueled model to illustrate the best grill-cleaning techniques, but this routine can work for charcoal grills, pellet smokers and kamado grills, too. (For more cleaning tips, check out how to clean a cast-iron skillet and how to clean your kitchen in less than 15 minutes.)
How often should you clean your grill?
How often you’ll need to clean your grill depends on how often you use it and how dirty it gets when you do. Most experts suggest deep-cleaning your grill at least twice per year, with lighter, maintenance cleaning after each use. If you’re a heavy griller (or not as good with the post-dinner clean), three times per year would be a better cadence. If you’re a seasonal griller, you’ll definitely want to give your grill a good clean before you put it away for winter and likely again in the middle of peak season.
How to properly clean a grill
1. Open up the grill and pull it apart
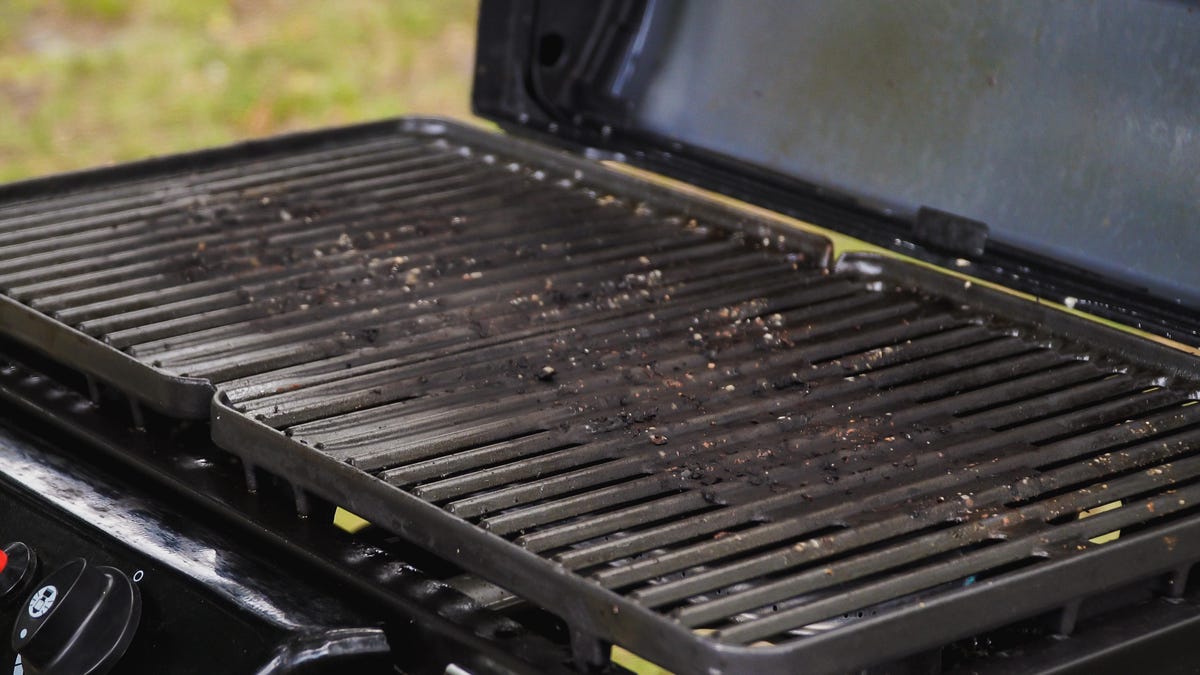
First, you’ll need to open the grill and remove its various parts. This way, you’ll be able to access the main grill chamber. Typically sitting below the grates, this is where heavy food particles tend to fall and grease drippings land.
Start with a cold grill. Open the hood, remove the grill grates and set them aside. Some propane gas models also have one or multiple metal heat diffusers that rest over the burners. If your grill has them, take those out too.
2. Clean the inside of the grill
A lot of grease and food particles tend to collect inside the grill’s interior, also known as the “grill box.” Use a cheap putty knife (metal or plastic) or an old spatula to scrape the sides of the grill chamber free of as much gunk as you can.
Any thin, flat tool will do. Just make sure it provides a good surface or handle to grip. You also might want to consider getting a pair of work gloves, too, since this is bound to be a dirty job.
On charcoal and wood pellet grills, ash will accumulate within their coal trays and fireboxes. That in turn limits airflow, and ultimately affects cooking performance. And in the case of pellet grills, ash can cause misfiring of the pellet system. Sometimes this situation leads to a precarious over-firing condition when too much fuel ignites at once.
Avoid that by regularly clearing your grill of ash deposits. Just be sure to do so when the ash has cooled completely.

Watch this: Here’s how to clean your grill safely
3. Clear the burner tubes
If you have a gas grill, one part that often gets clogged are its burner tubes. One symptom of dirty burners is reduced flame size. They may also burn with an orange color instead of the usual blue. Both indicate abnormally low temperatures and an underpowered grill.
Typically a gas grill has multiple burner tubes, though some may have only one. Use a nylon or steel wire brush to gently clean the small holes on the tubes. Be sure to brush from the center of the tube outward, moving sideways (not up and down). Otherwise you may push debris into the tube or holes themselves instead of clearing them.
Use a metal scraper instead of a steel brush with bristles.
4. Clean the grill grates
Reassemble the grill, then turn it on to its highest temperature setting and close the hood. There may even be a cleaning level on your burner dials. After a few minutes, open the lid and scrape the grates vigorously. I recommend using a nonbristle metal grill brush, like the $21 Kona Safe Clean Grill Brush. It’s made out of stainless steel and is bristle-free so it’s safe for use on porcelain, ceramic, steel and cast iron surfaces.
You can also use a nylon brush, but make sure to do this only when the grill is cold. Other options are the $17 GrillArt Grill Brush and Scraper or the $10 Char Broil Nylon Bristle Grill Brush.
A time may come, at the start of grilling season perhaps, when deep cleaning is required. To loosen stubborn, carbonized grime, soak your grates in soapy water overnight. Another option is to hit grates with an aerosol grill cleaner like Simple Green.
A metal scraper removes debris without leaving dangerous bristles behind.
5. Prevent future buildup
Certain practices can help discourage deposits of dirt and grease from forming in the first place. One method is to grease the grates of your hot grill with a little cooking oil right before you start cooking. In the same vein, scrubbing your grill grates with a raw onion is another tactic you can try. If you do have a grill brush without bristles, it’s a good idea to scrape your hot grates both before and after grilling.
Another tactic is to scrub hot grill grates with the open side of a sliced (in half) onion. The thinking here is that it seasons the grates while adding moisture. Organic compounds supposedly are released, too, which break down stubborn grease and dirt. I’ve found that it’s not as effective as scrubbing, but it certainly creates a wonderful smell.
Performing a full cleaning every few months is the best method to enjoy a grill that’s spick-and-span. A little elbow grease goes a long way.
For more cleaning tips, check out how to get that organized TikTok fridge look, and how to kill mold in your washer and keep it away.
More tips for summer:
Source: CNET


